Before you install the SSD drive though, first make sure that the SSD drive you bought is compatible with your laptop motherboard. There’s are predominantly two SSD form-factors. The old larger 2.5″ SSD form factor reminiscent of 2.5″ mechanical HDDs and the new smaller M.2 akin to RAM chips which we use here.
Open M.2 slot
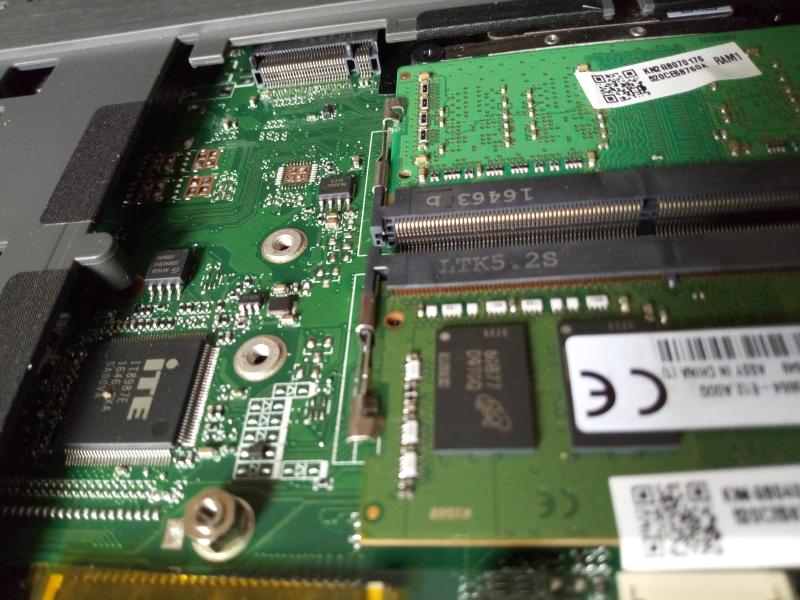
First, open your laptop back cover. This is variable across different models. For some, you have to unscrew the entire cover, while for this Acer laptop, it’s only section of the laptop back that you have to remove. Look for the M.2 slot which is usually besides the RAM chips.
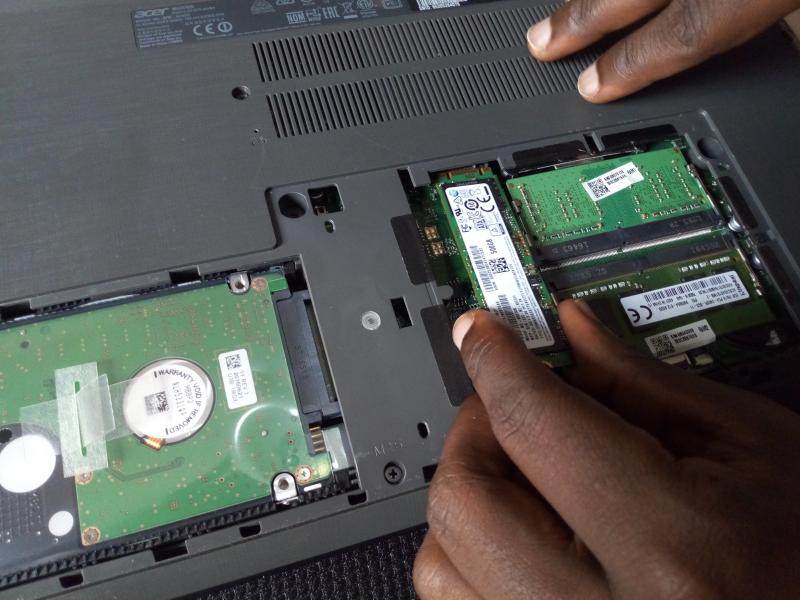
Slide the M.2 SSD drive inside slot
Carefully slide the M.2 SSD drive into M.2 slot. The SSD drive pins should slide into the M.2 notches on the motherboard. The side with labels and product information should be up.
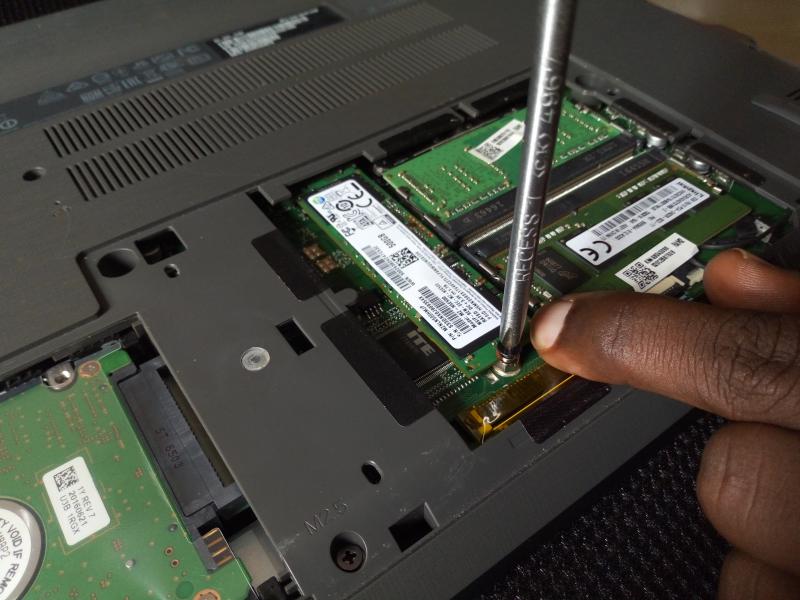
Screw the SSD drive in
M.2 SSD drives are of variable length. This particular version is an 22mm wide and 80mm long SSD and it could perfectly fit into the 2280 screw. The screw is already in the slot, so you have to unscrew it and then screw in place with the SSD. Some laptop vendors don’t provide the screw though with their models.
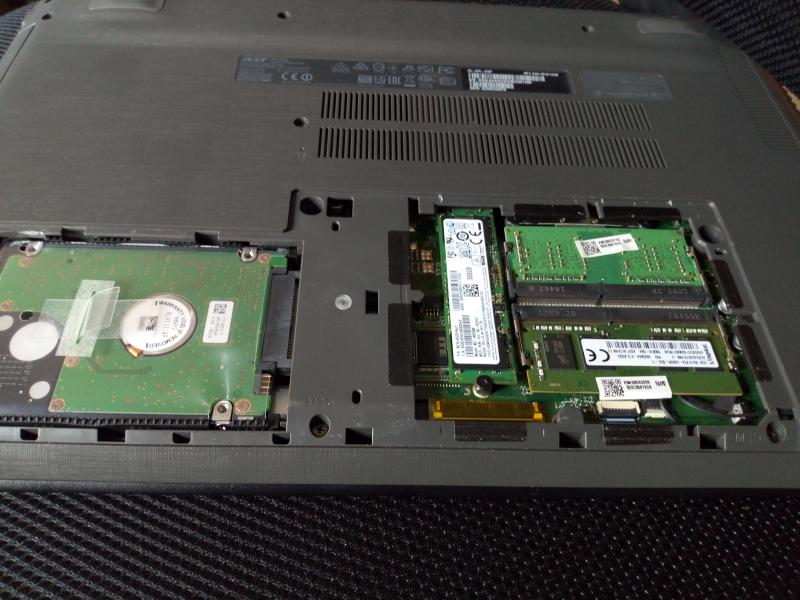
Finalize and cover
Confirm everything is in place and screw the cover back in.
Installing an M.2 SSD drive is really simple process. You just have to confirm with your laptop vendor’s website what kind of SSD interface your laptop supports before you buy the actual SSD drive. If you for instance buy an M.2 SATA drive like this one, and your laptop mother has M.2 PCIe interface, then your drive won’t fit in.


